What Are the Essential Steps to Take When Planning a Roof Replacement on Your Own?
Understanding the Importance of Roof Replacement
A roof is crucial in protecting your home from the elements. Over time, wear and tear can necessitate a full roof replacement. Proper planning is essential for success when undertaking such a significant project on your own. This article will outline the essential steps to take when planning a roof replacement, ensuring you have a clear roadmap to follow.
Step 1: Evaluate Your Current Roof
Inspect for Damage
The first step in planning a roof replacement is to carefully evaluate your existing roof. Look for signs of damage such as sagging, missing shingles, water stains, or mold growth. Document all findings and identify areas that need attention. This will help determine whether a complete replacement is necessary or if partial repairs could be sufficient.
Assess Roof Age
Consider the age of your roof. Most roofing materials have a lifespan ranging from 15 to 50 years. Knowing the age will help inform your decision—if it is nearing the end of its lifespan, a full replacement might be the best option.
Step 2: Determine Your Budget
Estimate Costs
Once you decide that a replacement is necessary, establish a budget. Costs can vary significantly based on the type of roofing material, tools, and labor (if hiring assistance). Create a detailed list of all potential expenses, including:
- Materials
- Tools
- Permits
- Disposal Fees
Prioritize Your Spending
Identify areas where you can save money by performing tasks yourself versus hiring professionals. However, remember that investing in quality materials is crucial; a cheaper option may result in additional repairs down the line.
Step 3: Choose the Right Materials
Research Roofing Options
There are numerous roofing materials available, including asphalt shingles, metal, tile, and wood. Each material has its pros and cons in terms of cost, durability, and aesthetic appeal. Research the options thoroughly to find the one that best aligns with your needs and budget.
Impact on Home Value
Consider the resale value of your home. A quality roof can significantly enhance property value. Ensure you select materials that are compatible with your home’s style and the neighborhood’s standards.
Step 4: Acquire Necessary Permits
Check Local Building Codes
Before starting the project, check with your local municipality regarding building codes and permit requirements. Failing to obtain the necessary permits can result in fines or complications when selling your home in the future.
Submit Required Documentation
Prepare and submit any documentation needed for permit approval. This may include plans detailing your roof specifications and proposed materials. Allow sufficient time for approval, as this process can take several weeks.
Step 5: Assemble Tools and Materials
Create a Comprehensive List
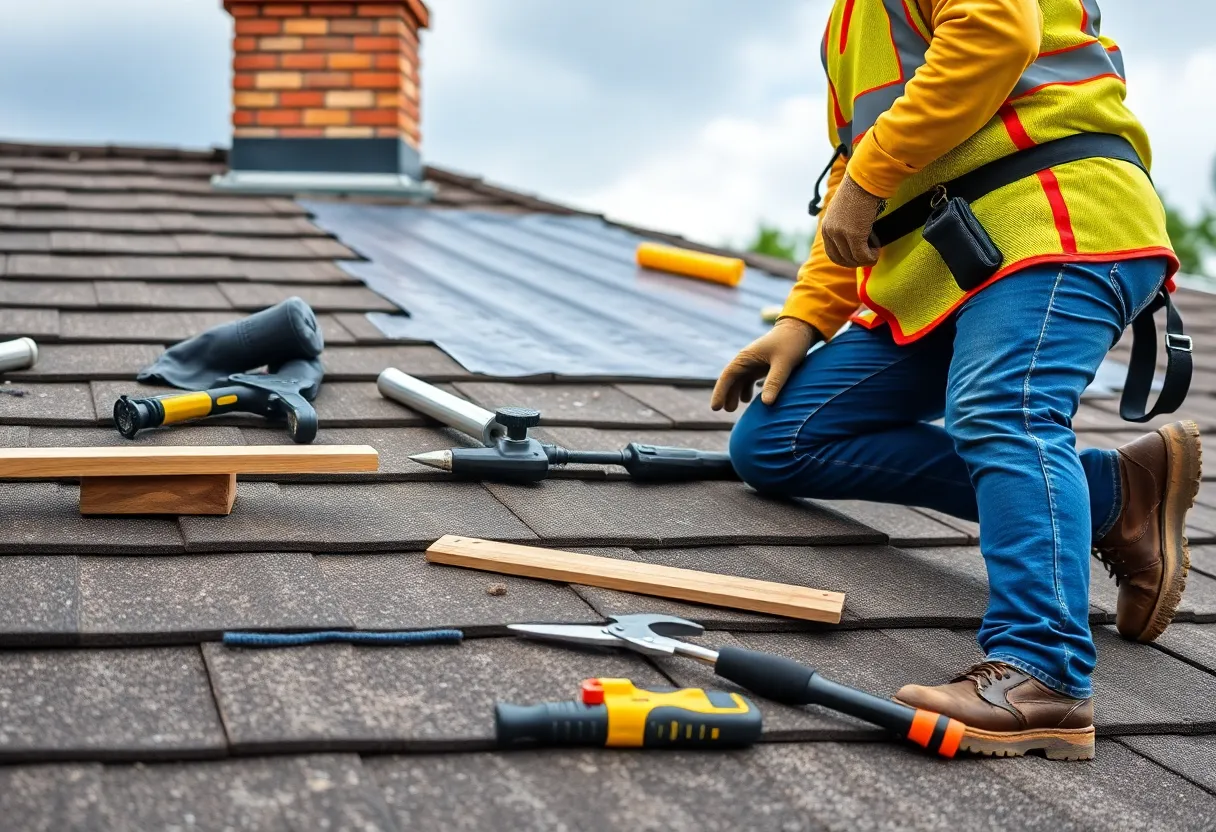
To ensure a smooth replacement process, compile a list of all tools and materials you will need. Essential tools typically include:
- Ladder
- Hammer
- Nail gun
- Roofing felt
- Safety harness
- Utility knife
Purchase or Rent Tools
Evaluate whether you need to purchase or rent tools based on how often you plan to undertake similar projects in the future. Renting may be more cost-effective for one-time use.
Step 6: Ensure Safety Precautions
Safety Gear
Prioritize safety throughout the roofing process. Wear appropriate safety gear, including:
- Hard hat
- Non-slip footwear
- Safety goggles
Work with Caution
Use a sturdy ladder, and employ a harness when working on steep roofs. Avoid working in inclement weather, as wet surfaces can greatly increase the risk of falls.
Step 7: Remove the Old Roof
Prepare the Area
Before tearing off the old roofing material, clear the surrounding area of any debris or obstacles. This creates a safe working environment. Consider placing tarps on the ground to catch debris.
Carefully Strip Off Old Materials
Begin removing old roofing materials, working from the top down. Take care to remove nails and other fasteners to avoid injury. Properly dispose of old materials in accordance with local waste management regulations.
Step 8: Install New Roofing Material
Follow Manufacturer Instructions
When installing new roofing material, it’s crucial to follow the manufacturer’s guidelines precisely. This ensures warranty coverage and optimal performance. Pay close attention to overlapping seams and securing materials correctly.
Install Underlayment
Before placing shingles or other materials, install a waterproof underlayment to prevent moisture infiltration. This layer acts as an additional line of defense against leaks and weather damage.
Step 9: Inspect and Finish the Project
Quality Check
After installation, perform a thorough inspection of your work. Look for any missed spots or areas needing additional treatment. Ensure that everything is securely fastened and that there are no exposed nails.
Cleanup
After completing the roof installation, clean the work area. Remove all tools, materials, and debris. Consider using a magnet to collect any stray nails which can pose a hazard.
Step 10: Maintain Your New Roof
Regular Inspections
Once the new roof is installed, commit to periodic inspections. Look for signs of wear, leaks, or damage. Regular maintenance can prolong the lifespan of your roof.
Cleaning and Repairs
Engage in routine cleaning to remove debris that can trap moisture. Stay on top of small repairs to prevent them from escalating into larger problems.
Conclusion
Planning a roof replacement on your own requires careful consideration and organization. From evaluating your current roof to selecting materials, assessing safety, and ensuring adherence to local codes, each step contributes to a successful project. By following these essential steps, you can navigate the complexities of roof replacement effectively and enhance the longevity and value of your home.


 Mays Contracting

