How to Effectively Inspect Your Roof after a Storm: A DIY Guide for Homeowners
Introduction
After a severe storm, inspecting your roof becomes crucial for maintaining the structural integrity of your home. Understanding how to properly assess the condition of your roof can save you time and money in repairs down the line. This guide will walk you through a systematic approach to inspecting your roof after a storm.
What to Look For During Your Inspection
Visible Damage
Start by examining the roof for any apparent damage. Look for missing shingles, dents, or dislodged roof tiles. Pay attention to any areas of the roof that appear sagging or misshapen. These can indicate underlying issues that need immediate attention.
Gutter Damage
Check your gutters and downspouts. Ensure they are free from clogs and not detached from the roof. Rainwater should flow freely. Look for signs of rust or other deterioration which could lead to leaks.
Flashing Condition
The flashing around chimneys, vents, and skylights is particularly susceptible during storms. Look for any cracks, gaps, or rust. If the flashing is compromised, it can lead to water penetration.
Check Internal Signs
Inspect the interior of your home, particularly in attic spaces, for water stains or mold. These are critical red flags indicating potential leaks.
Safety Precautions
Assess the Weather and Stability
Before you begin the inspection, ensure that the weather is stable. Avoid inspecting during rain or high winds. Check your ladder for stability, and ensure it is placed on solid ground.
Wear Safety Gear
When inspecting your roof, wear appropriate safety gear. A helmet, sturdy shoes, and gloves are essential. Employ a safety harness if you’ll be working on sloped roofs.
Tools and Equipment Needed
Basic Inspection Tools
Gather the necessary tools for your inspection:
- Ladder: A sturdy, extension ladder for roof access.
- Binoculars: Useful for distant inspection without climbing.
- Camera: Document the condition for insurance and future reference.
- Toolbox: For any quick repairs you might identify.
Step-by-Step Inspection Process
Ground-Level Observation
Begin your inspection from the ground. Look for standing debris, broken branches, or any debris near the roof. Take note of any roof sections that seem severely affected.
Ladder and Roof Access
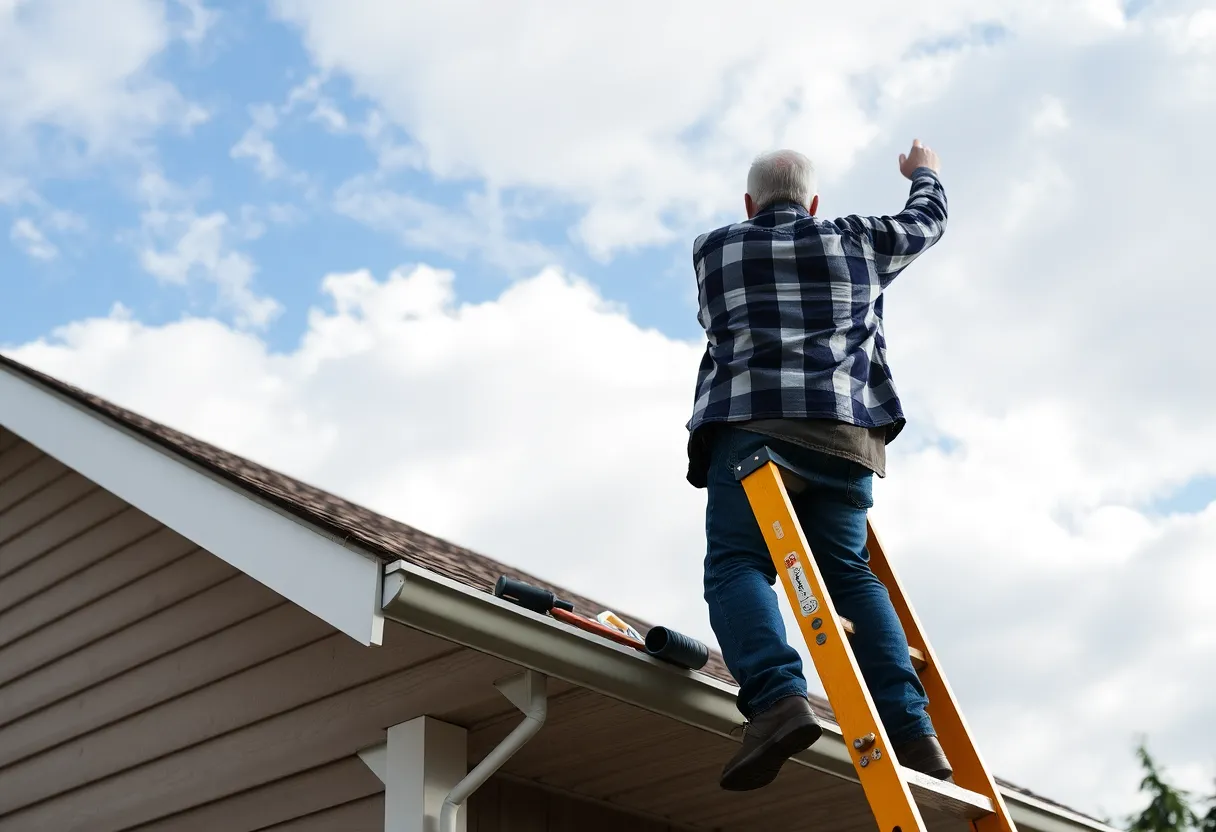
Once the ground is clear, position your ladder securely at a safe angle. Ascend cautiously, maintaining three points of contact. Once on the roof, stay in the center of the roof to maintain balance.
Inspect Roof Surface
Walk carefully across your roof, examining each section thoroughly. Look for:
- Missing or damaged shingles: These require immediate replacement.
- Blistering: Blisters may indicate trapped moisture.
- Granule loss: This points to aging shingles and might require full replacement.
Check Valleys and Eaves
Valleys will collect rainwater; inspect them for blockages. Ensure they are not filled with leaves or dirt, which could lead to overflow. Similarly, check the eaves for signs of decay.
Look for Mold and Unusual Growths
Examine the roof for mold or algae, especially in shaded areas. While not always structurally damaging, they can lead to more significant issues if left unaddressed.
Document Your Findings
Keep a detailed record of your inspection. Take photographs to document any issues. This will not only help you remember specific problems but could also be useful for discussing repairs with professionals.
When to Call a Professional
Serious Damage
If you identify significant damage such as missing sections, structural concerns, or widespread leaks, it’s vital to contact a roofing professional. DIY repairs in severe cases can lead to more extensive damage if not addressed correctly.
Insurance Considerations
Regardless of the severity, consult your homeowner’s insurance policy. Some policies cover storm damage, and having documentation will be beneficial for a claim.
Recommended Maintenance Following a Storm
Regular Inspections
After any storm, regular inspections should become a routine. Aim to check your roof at least twice a year. Keep an eye out for early signs of wear and tear.
Clean Gutters and Drains
Clogged gutters can cause overflow and damage to your roof. Clean them thoroughly post-storm to avoid further issues.
Trim Overhanging Branches
Regularly trim trees near your home to prevent branches from falling during storms. This preemptive measure can protect your roof from future damage.
Conclusion
Effectively inspecting your roof after a storm is a vital task for maintaining your home’s integrity. By staying vigilant and understanding what to look for, homeowners can prevent costly repairs and ensure their roofs remain in good condition. Always prioritize safety, and don’t hesitate to call a professional for issues beyond your capability.


 Mays Contracting

